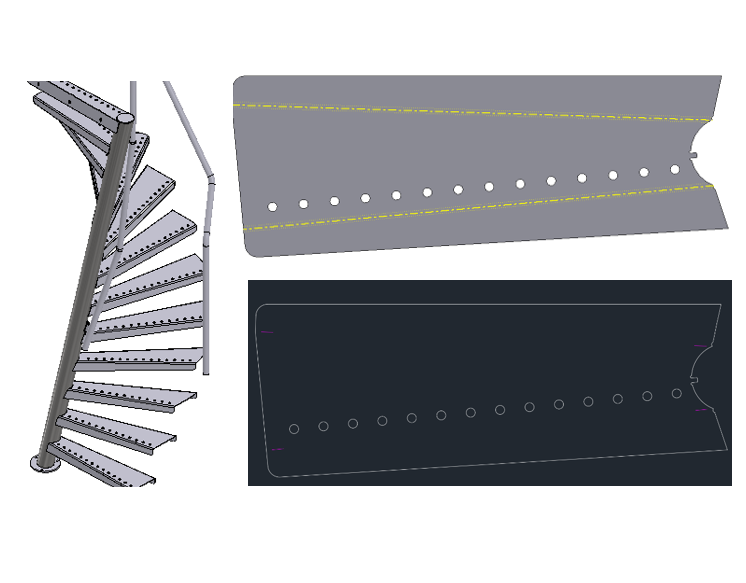
Bend Line Markers are used to mark a bend on sheet metal. It is not necessary to engrave the Bend Lines over the entire length. This takes extra time and energy and we have to be careful with it these days. That is why the Publish Tool has a handy function built in to trim these lines. The Gap and Length for bend-up and bend-down can be set.
A new button has been added in the settings menu: Trim Bend Lines On/Off.
By clicking here you can activate and deactivate the function. When activated, the screen with the settings for the bend line markers is also opened. The following settings are available:
To get the bend lines in the DXF it is necessary to enable the checkbox in the Bend column. This is done automatically if Bend Lines are selected in the settings. you can turn them off individually.
If the Bends column is not visible, click Columns Visibility and activate the correct column.
Stay up to date about new products and updates
You have successfully joined our subscriber list.